 Beriita.com Berita Hari Ini, Informasi Terkini, Seputar Trending dan Viral Indonesia.
Introduction
With the increasing prevalence of smartphones in our lives, the risk of losing access to our devices has become a genuine concern. FRP (Factory Reset Protection) is a vital security feature designed to protect our data in case of theft or loss by requiring the owner’s credentials after a factory reset. However, in scenarios such as a forgotten password or a secondhand device purchase, FRP can become an obstacle to accessing the phone. This guide will delve deep into the topic of bypassing FRP on Evercoss U60 devices, providing clear instructions and effective methods to regain access to your locked devices. Whether you are a tech-savvy individual or an occasional smartphone user, this article aims to empower you with the knowledge and techniques necessary to overcome the FRP barrier.
What is Evercoss U60?
Evercoss U60 is a budget-friendly Indonesian smartphone known for its affordable price and solid performance. It has a 6.1-inch display, an octa-core processor, and runs on Android 10. Unfortunately, like many other Android devices, if you forget your password or purchase a used device with FRP enabled, you may find yourself unable to access your phone without bypassing the FRP lock. Understanding the FRP mechanism is crucial to successfully bypass it.
Understanding FRP
Factory Reset Protection is a security measure taken by Google to deter smartphone theft and unauthorized factory resets. It requires the legitimate Google account credentials associated with the device to be entered after a factory reset. This feature is particularly helpful in case of device theft and unauthorized access attempts, ensuring that personal data stays secure.
FRP Bypass Methods for Evercoss U60
There are several approaches to bypass FRP on U60, each with its own level of success and difficulty. Below are some of the common methods along with their step-by-step execution instructions:
Method 1: Reset Protection Bypass Using Google Account Manager App
1. Start by restarting your device and connecting it to a stable Wi-Fi network.
-
Once connected, go to the FRP lock screen and enter any random email ID and password.
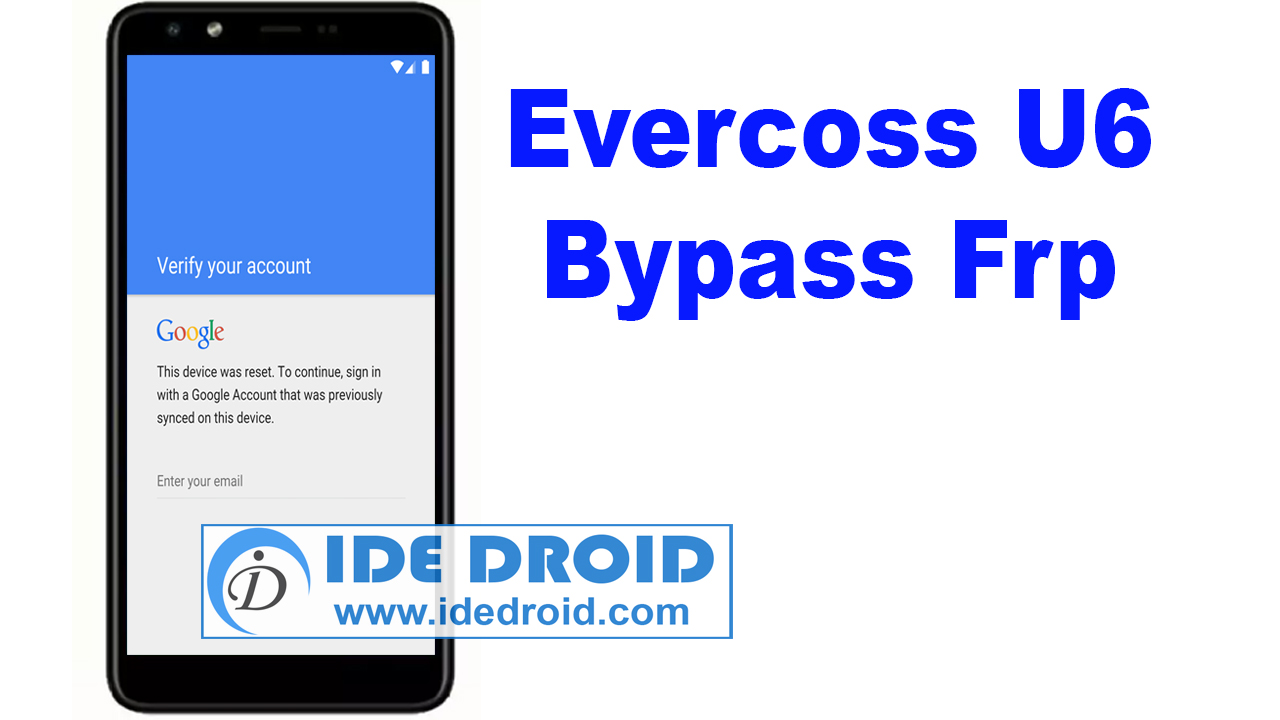
Image: www.idedroid.com -
It will prompt you for a “Forgot password” option. Tap on it and enter your Google account username.
-
On the next page, choose to “Sign in through the browser,” but instead of signing in, hit the “Forgot password” option again.
-
Now, you can choose to “Sign in with another browser” as you won’t be able to reset your password with the in-app browser.
-
Tap on “Backup email,” then “Other Options,” and then “Google.”
-
You’ll see an option to “Send Link to Email” at the bottom of the screen. Use this option to send the reset link to an accessible email account (this account can be different from the one linked with your device).
-
Retrieve the email on your accessible email account and reset your password using the provided link. Using the newly created password, sign in on your U60 using your device’s web browser.
-
Once the sign-in is successful, go back two screens and toggle the “Auto-Sign-in” on for any e-mail accounts of your choice.
-
Now, you can “Restart” your device. You will notice that your device bypassed the FRP after rebooting.
Method 2: Reset Protection Bypass Using USB Debugging Port
1. Switch on your Evercoss U60, set up a new language and Wi-Fi connection, but don’t proceed further.
-
Activate TalkBack by long-pressing the volume up and down keys simultaneously for about five seconds.
-
Create a pattern by swiping the screen with two fingers in an ‘L’ shape, enter a random alphanumeric password twice, and enable “TalkBack.”
-
Double tap on the “emergency call” option, use the dial pad to type “##426##” and grant device management access to the package installer.
-
Google Play services and Android Device Manager will now be installed on your device.
-
Open “Android Device Manager” from the launcher, sign in with your Google account, and check the FRP Bypass box.
-
Use your newly created Google account credentials to bypass FRP on your Evercoss U60 device after a successful verification through the official bypassing tools.
Method 3: Reset Protection Bypass Using Google Home Assistant
-
Power on your locked Evercoss U60 with a strong internet connection.
-
“Google Assistant” can be found by long-pressing the Home button (for devices with hardware home buttons) or swiping from the bottom screen corner (for devices that use gesture controls).
-
Post this, browse any reasonably secure website to simulate assistant times. For example, check out CNN or BBC.
-
Your device will prompt you to “Add a Google account.” Enter any random ID and password, then save them. The setup process will continue allowing you to set things according to your preference without any password requests.
-
Then, discard these junk accounts by clicking your profile picture in “Quick Settings” and afterward clicking “Sign Out.”
-
Return to the Google account setup page and your device password screen for the FRP process. But this time, use a genuine Google email address and password.
-
Upon Chrome setup, tap “Accept” while browsing to any website. Now get back to the google account verification page, select sign-in with the browser, and enter your credentials. This process removes the device’s FRP lock successfuly.

Image: www.youtube.com
Bypass Frp Evercoss U60
Conclusion
If you face a frustrating FRP lock on your Evercoss U60, do not succumb to hopelessness. With the effective methods outlined in this guide, you can bypass FRP and restore access to your device. Remember to approach the process strategically, prepare necessary details, and diligently execute the steps. After this potentially demanding but rewarding process, you should have a reconnected Evercoss U60, ready to serve you once again. As always, use your device responsibly and learn from past experiences to safeguard it from recurring mishaps. Feel free to share this guide with others who might find themselves in a similar situation. Do not hesitate to drop inquiries or suggestions in the comments section below.